Table Of Content
I love building, teaching, and sharing my woodworking knowledge with others. If you thought two contrasting colors were beautiful, wait until you try these plans, which call for four different species! The resulting effect is a vivid display of wood’s natural appeal. The effect of the tactile makes it appear almost like a chessboard and is strikingly sharp. If you've never used a router or don't have access to one, you can also achieve a nice edge with an orbital sander. To burnish wood, vigorously rub the workpiece with handplane shavings for a glass-smooth finish.
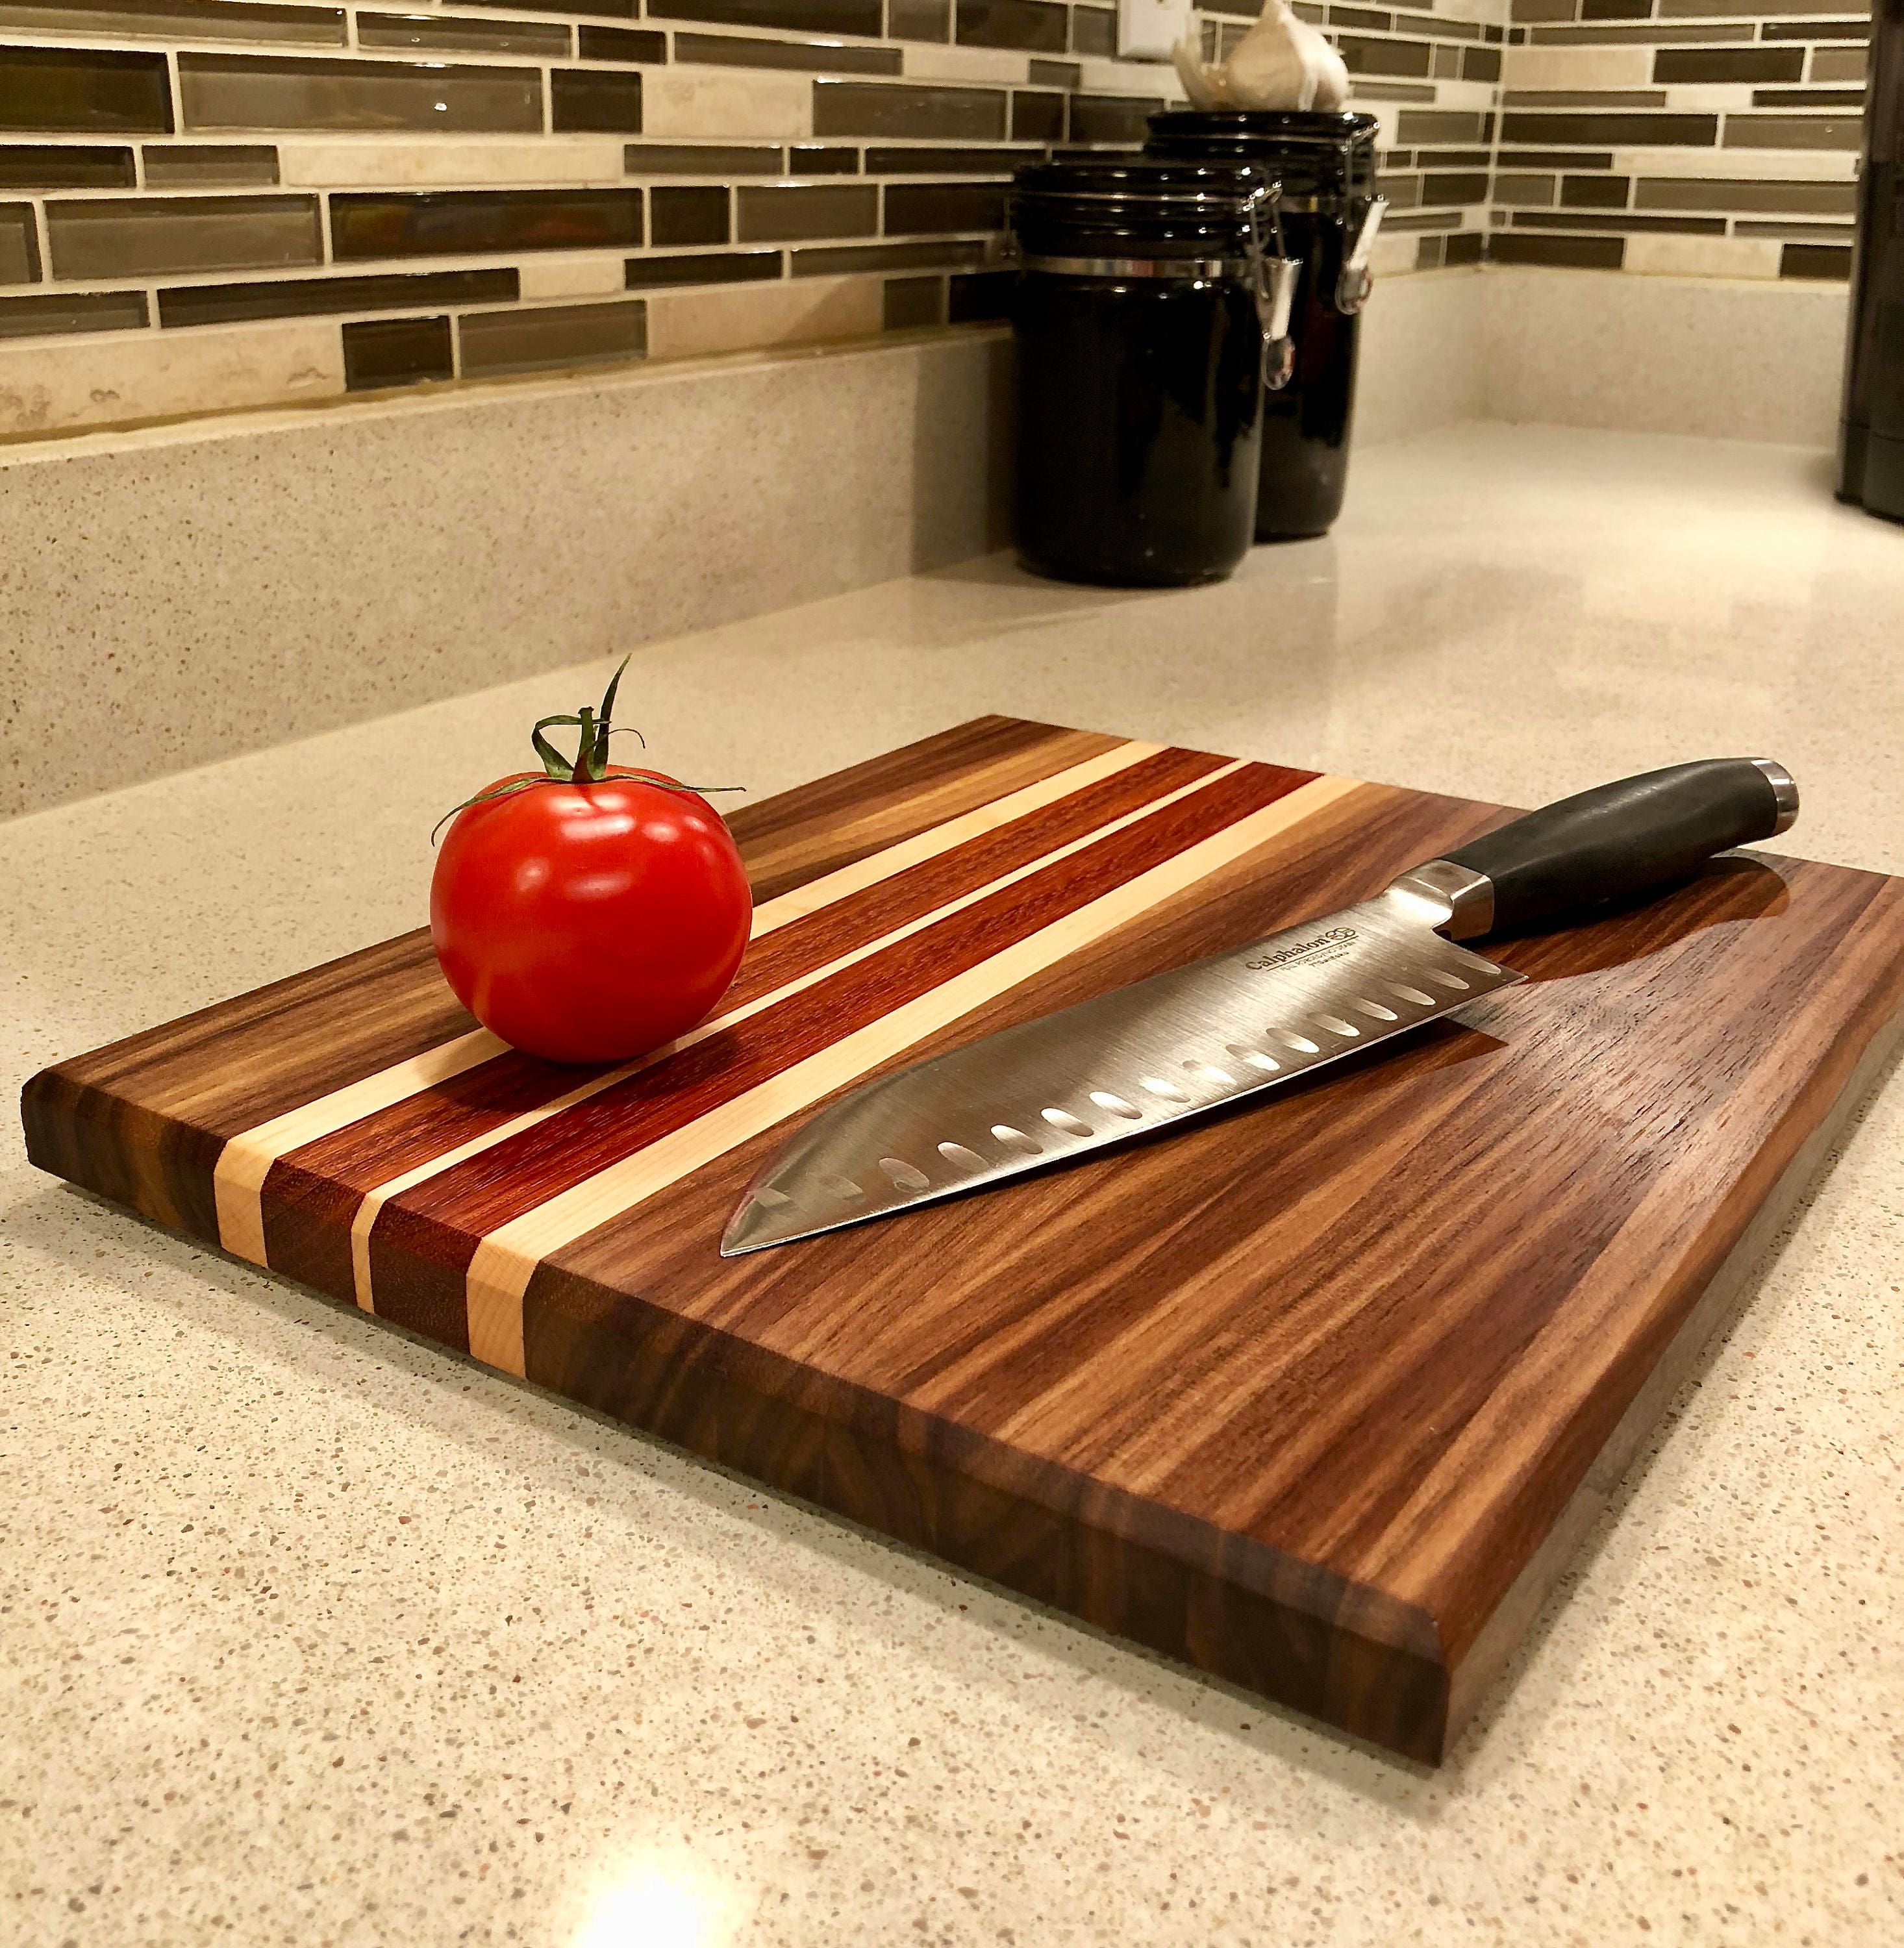
Modern Kitchen Wood Cutting Board DIY:
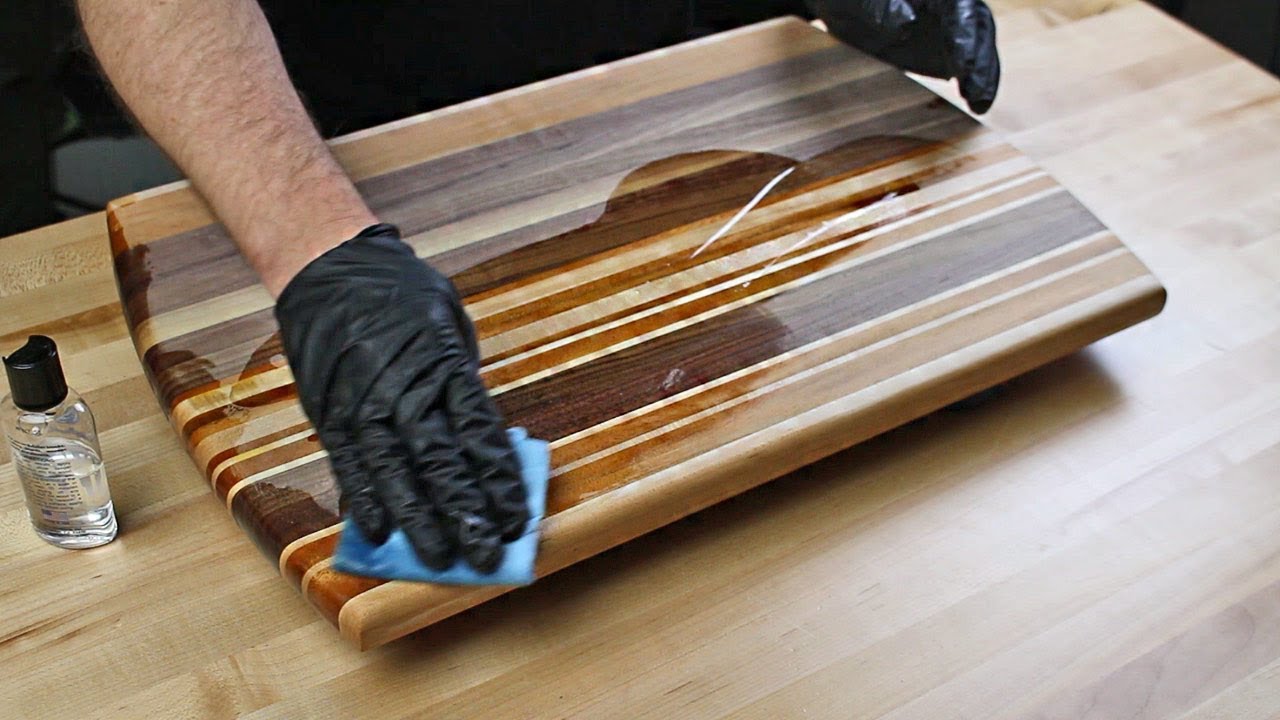
Repeat this process with 1 more coat until the board is nice and saturated. Then I top my boards with a beeswax and mineral oil blend that helps with extra water protection and lets you buff your DIY cutting board to a nice sheen. And now for everyone’s favorite part of making a cutting board, applying the finish. I almost always use straight mineral oil followed by a beeswax and mineral oil blend. Nothing special for the first coat, just any ole mineral oil you can get at the drug store or grocery. Pour on a big puddle of mineral oil, then sit and stare at it.
Latest DIY Crafts
To observe whether the boards retained stains or odors, I then chopped up roasted beets and anchovies on each surface, allowing the foods to rest for half an hour. After I thoroughly cleaned and let the boards dry for a few hours, I noted the cases where the staining or odor was excessive. We tested a lot of quality wood cutting boards for this piece, but our top honors went to John Boos’ Chop-N-Slice Board. This mid-sized surface from FiveTwo harnesses bamboo’s antimicrobial and water-resistant properties to craft a wood cutting board that is as functional and durable as it is beautiful.
DIY Two Tone Wooden Cutting Board
While the market offers a vast range of cutting board designs, making one yourself can be a fun and creative experience. Important when choosing the right wood for your DIY cutting board? Not only does the wood need to be safe for food preparation, but it also needs to be durable and aesthetically pleasing. In this blog post, we will explore the best woods for cutting boards and the woods to avoid to help you create a stunning and functional cutting board.
For a decorative touch, wood burning tools can be used to create a custom design or pattern on the surface of the cutting board. A geometric cutting board is a great addition to your home, whether you use it in the kitchen for food prep or in your living room as a beautiful venue for snacks. This geometric board uses wood and other tools to create a stunning board that cannot pass out easily.
This simple cutting board can easily be customized to suit your needs. Consider adding a juice groove around the perimeter, insetting handles on each side, or even adding feet to the bottom of the cutting board. Remember that some accessories will limit the cutting board to only one usable side. To flatten the end-grain on a cutting board, you can safely use a drum sander or a router sled. Afterward, sand the board by hand until it is completely smooth.
DIY Cutting Board With Wood and Marble
A selection of the popular wooden cutting boards I put through the paces in my home kitchen. This board quickly became a favorite during testing thanks to its lightweight design and user-friendly features. We loved the mid-range thickness of this surface, which was weighty enough to feel sturdy and substantial but not so heavy that it became cumbersome. Because this wooden cutting board is designed to be dual-sided, there are no silicone or rubber grips to keep it from slipping. While this didn’t bother us when using a smaller paring knife, it did slide a bit when using a larger chef’s knife; putting a towel beneath the board seemed to help with this issue. Creating a butcher block cutting board is easy and fun with this tutorial.
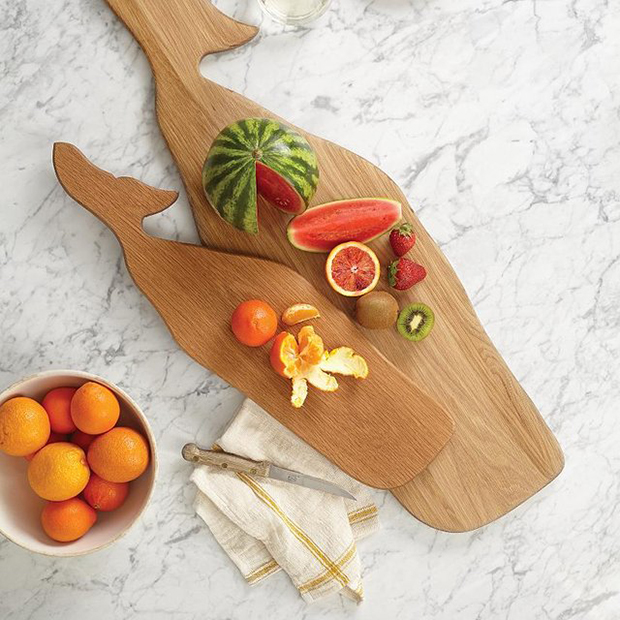
Runa Klock shapes chopping boards like mountains - Dezeen
Runa Klock shapes chopping boards like mountains.
Posted: Sun, 15 Jun 2014 07:00:00 GMT [source]
End Grain Butcher Block Cutting Board
Let your creativity and imagination run wild with the new board design. It can be used for cutting and serving and can be customized according to your needs. If you are not a professional woodworker and would like to make an assemblage of a DIY cutting board, it is something that can be easily tackled at home. The products used by the professionals are also readily available in many hardware stores. A cutting board is a must-have in every kitchen, whether you’re a beginner or an expert chef.
DIY Herb Planter Cutting Board
Then, you either want to prop the board on its side and lean it up against a wall or place it on a rack to ensure it dries thoroughly. More so than poor knife skills or pungent foods, moisture poses the biggest threat to wooden cutting boards, as blocks of wood that aren’t dried properly can split or warp. By allowing the board to dry thoroughly before using it again, you can also virtually eliminate the risk of foodborne illness. Made of rubberwood, this KitchenAid cutting board was the only of its kind on our list, and we loved the pale color of the wood and how lightweight the piece was overall. It’s designed to be dual-sided, with a flat surface on one end and a juice groove perimeter on the other. The board didn’t hold onto smells or food pigments noticeably, though the marks from our knife were fairly visible.
It is essential to mill the wood correctly so that the cutting board does not warp or twist over time. The jointer is used to flatten one side of the wood, while the planer is used to create a parallel surface on the opposite side. When choosing the perfect wood for your DIY cutting board, there are a few excellent options to consider. These woods are not only durable but also have a beautiful appearance that will make your cutting board stand out. Alternatively, learn about the safe and healthy way to choose the right wood for a cutting board with tips from Tom’s Woodworking and Carpentry and Healthier Homes.
Create a unique and thoughtful gift with these DIY cutting board designs. From simple end-grain boards to beautiful etched patterns, there is a cutting board for every skill level and occasion. Check out tutorials on YouTube and learn how to make your own cutting board with minimal tools and materials. Looking to add the finishing touches to your DIY cutting board design? Consider adding juice grooves or handles for added functionality.
Make your kitchen stand out with this stylish DIY cutting board! Using walnut, maple and padauk boards, wood glue, and cutting board oil, you can easily make a chevron cutting board that is both functional and eye-catching. Sand and finish off with some cutting board oil for a beautiful design. Making your own homemade cutting boards is a rewarding woodworking project.
Making a cutting board is a project that suits all skill levels, and our DIY cutting board ideas cater to each individual’s preferences and skills. The board is smaller than others on our list, but the tray allows you to easily clear space as you go and keep things moving. Plus, it’s slim and easy to store, making it a great option for the cook who prioritizes ease and organization. There’s no better way than with this rich, luxe-looking walnut wood cutting board from Our Place. We're fans of Our Place's drinking glasses and non-toxic cookware, so we weren't surprised that this was one of the best wooden cutting boards we tested. Unlike most wooden cutting boards, which must be washed by hand, this Epicurean surface is made of paper composite and thus can be put in the dishwasher for a hassle-free clean.
This cutting board is designed to have your very own special design. You can also give this unique gift to your family, relatives, and friends for their special occasions, such as Christmas, birthdays, weddings, graduations, Easter, Thanksgiving, etc. The manufacturing process is 100% hand-made by top qualified artisans keeping all its genuine authenticity. This Cutting/Serving Board is made of hardwood so that it will last for years! Serve your food on the large flat side, then flip over to use the knife-friendly side.


No comments:
Post a Comment